I like to use a module for BLE because it is easier and less expensive for quantities less than 10k. For this post I'm trying out the Anaren BLE Module which is available on a Development kit from Digikey for $60. You will also need a Texas Instruments Launchpad. I'm using the TI Tiva Launchpad which available from Digikey for about $14. These are so cheap that I recommend buying two. Below is a picture of the Anaren Board mounted on the Tiva Development Board.

- Anaren BLE Development Kit
- Mini-USB cable for above (comes with the kit)
- Texas Instruments Tiva Launchpad
- Micro-USB cable for above (comes with the kit)
- iPhone, 4S or later to run phone examples
- iPhone apps "Em-Blinker" & "Em-Browser", available for free from the App Store
- Basic knowledge of C
Hardware Connections
First, mate the two boards as shown above. Next, connect the Tiva's "Debug" USB port to your computer. Be sure that the slider switch is in the "DEBUG" position. Finally connect the "Admin UART" USB port on the Anaren Board to your computer.
Get the Software
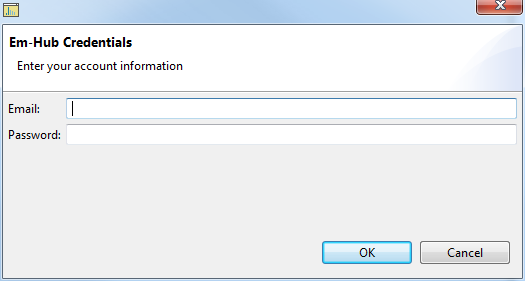
 The Anaren module uses a framework from Emmoco to make development easier. Go to www.em-hub.com. You will need to create an account to be able to download the software. Click on the "Sign-Up" link. The access code that it wants is printed on a sticker on the Anaren board. It is on the black connector, on the far left of the above image. Enter that code and your other information. Next, click on the "Downloads" link and select v13, and then "Em-Builder IDE Container" for your operating system.
 Install the Software
After it downloads, install the software. It will also install some drivers too. When you first start the application it will look rather empty, like below.
Update Development Board Firmware

Once you have updated the firmware, it will be happy:
If you want, you can also change the name of the device here. Call it "SHAMU" or whatever you would like as long as it's all upper case. Now we're done updating the module firmware. If you want, you can remove the USB cable from the "ADMIN UART" port now.
Get the Example Projects
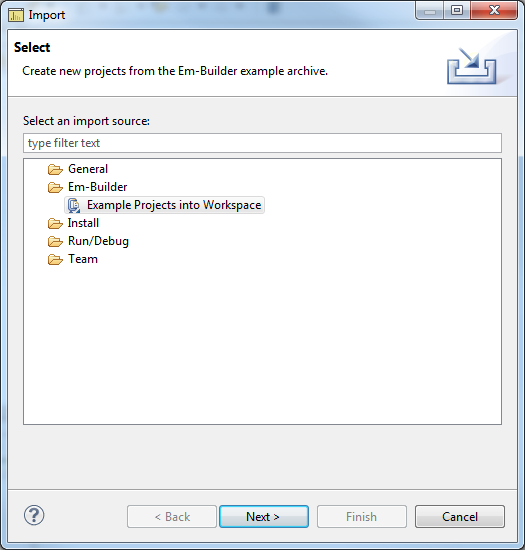
Now we need to import some examples so that we can start playing with them. GO to File > Import > Em-Builder > Example Projects, and select EK-TM4C123GXL as shown below.

Now, the application should have a few example projects:

Running an Example Application
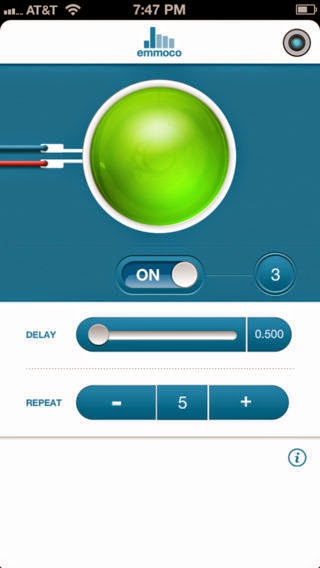
Now we are ready to do something useful. Be sure that the USB cable to the Tiva board is connected to your computer. Right-click on the "Blinker-EK-TM4C123GXL" example and select "Run Em-Builder Example". It should compile and build, as shown below.

No comments:
Post a Comment