In the previous post we looked at how to get up and running with Bluetooth Low Energy. Now we're going to do something useful. This section assumes that you have completed the previous tutorial successfully.
Load on-line Help
First, we want to load the on-line help for the FirstApp example. Open Em-Builder and select Help > Em-Builder > Primer Contents and you'll see a number of lessons available:

Run Unmodified FirstApp
Just like you did for Blinker, now right-click on the FirstApp project in the left hand column and select "Run Em-Builder Example". If you had an error, be sure that your development board is attached, and try the Em-blinker example too. Now open Em-Browser on your iPhone and connect to your development board. You should be able to read and write a variable with the unoriginal name of "data". Fun.Customizing FirstApp
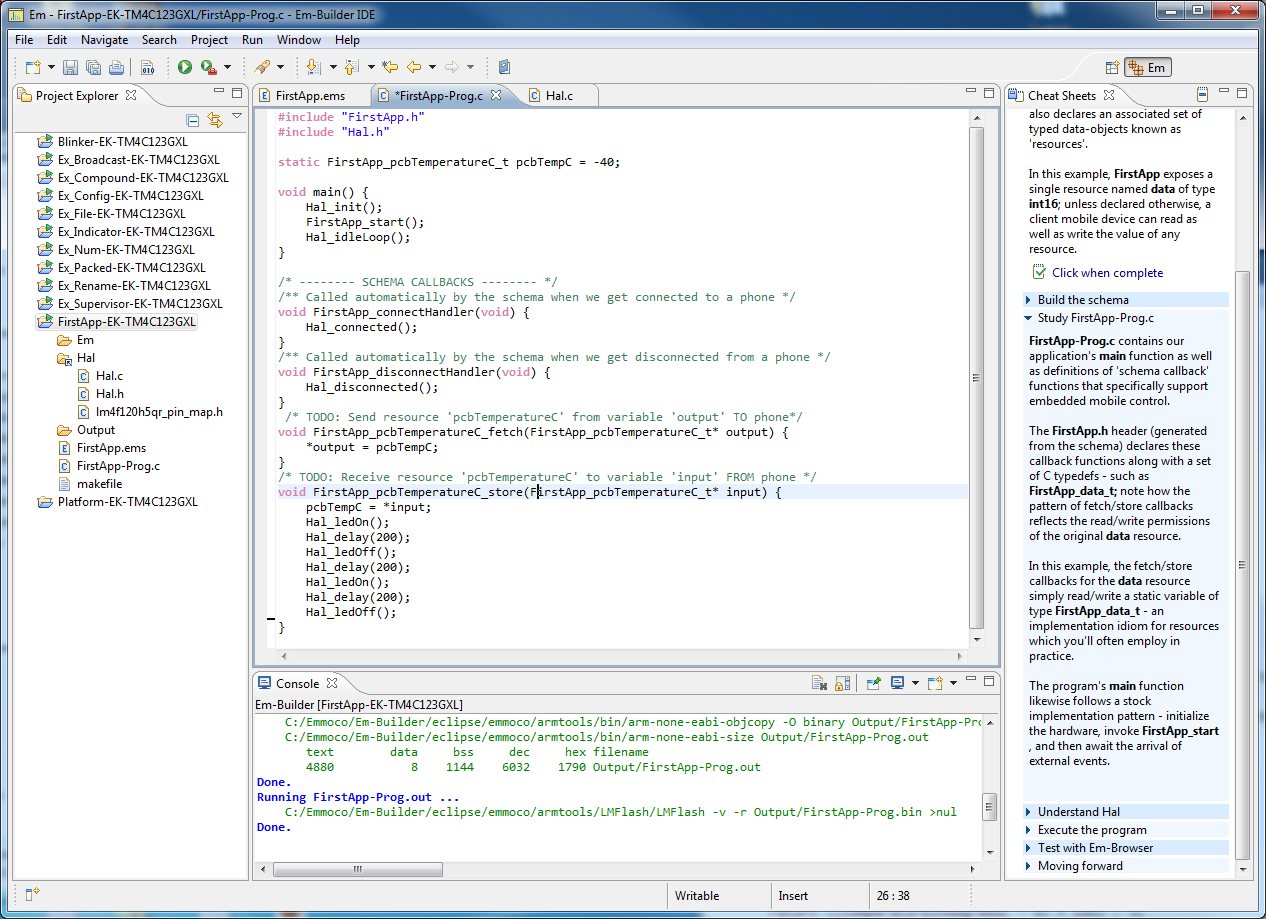
The first thing that we're going to do to get our feet wet with the Emmoco software is to do something very simple: change the name of the "data" variable to "pcbTemperature". This will give us a good exposure to what Emmoco uses to communicate. Make the change in the schema, FirstApp.ems.

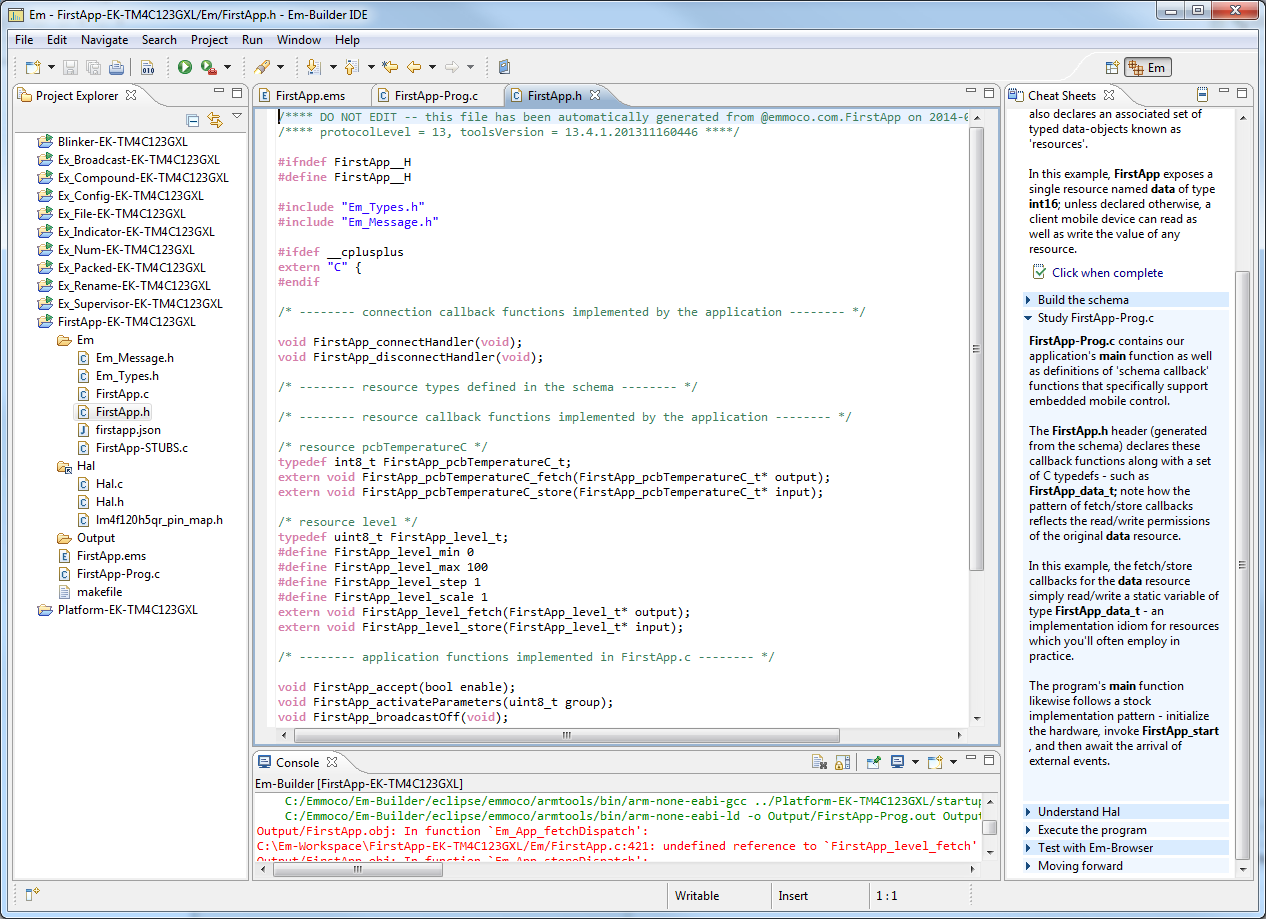
Now in the schema (FirstApp.ems) change the name of the variable "data". This will cause the build to fail, because we need to change all the other variables. If you go to FirstApp.h then you can see declarations of the new typedef and functions.


Do Something When We Receive a New Value
Ok, now we're rolling.Now, just for fun, we modify the function pcbTemperatureC_store() as shown below to blink LED twice whenever we get a new value.
Adding Another Variable
Now we want to add another variable. I looked through the schema examples and saw that there's a 'num' type where you can set the range and interval. This is useful so that the phone application will only send us valid values. We want to control a light, so we add a variable, called 'level'. This can vary between 0% (totally off) and 100% (totally on), in steps of 1 percent each.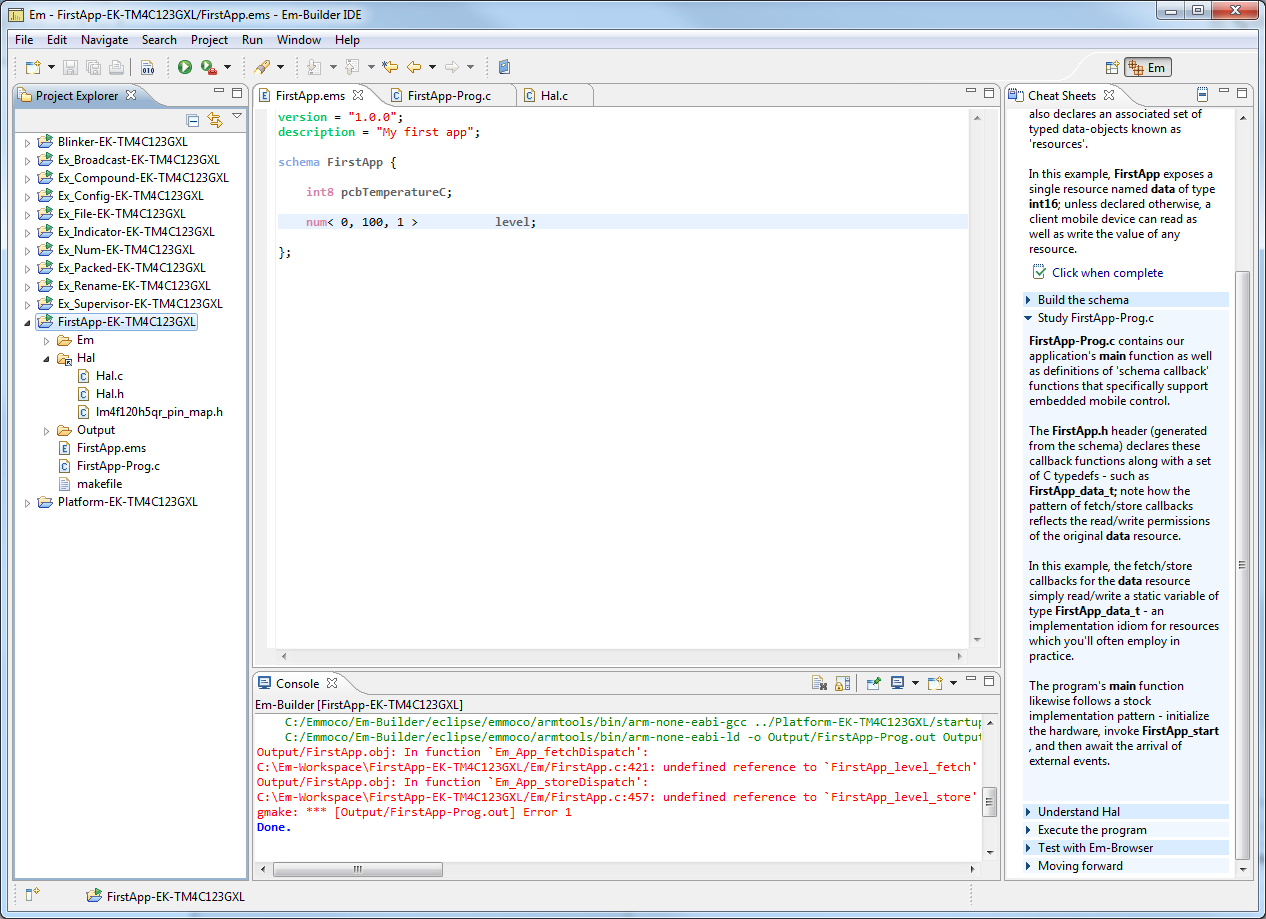

In FirstApp-Prog.c, add a variable:
static FirstApp_level_t intensity = 10;
Also add two new functions:
/* Send resource TO phone */
void FirstApp_level_fetch(FirstApp_level_t* output)
{
*output = intensity;
}
/* Receive new value FROM phone */
void FirstApp_level_store(FirstApp_level_t* input)
{
intensity = *input;
}
Run the Example
Now, try building again - 'Run Em-Builder Example'. You shouldn't have any errors.Now open Em-Browser on the iPhone. You can now see that we have a new resource, called Level, and we can write to it and read it.

Clicking on 'level' shows us more information about it. Note that if you try to write a level above 100 then it will be limited to 100.

No comments:
Post a Comment